How to Make the Perfect Charcuterie Board
This post may contain affiliate links, meaning Off the Eaten Path may receive commissions for purchases made through those links — at no cost to you. All opinions are our own. Please read our full disclosure for more information.


Whether you’re feeding a crowd or a small group, a charcuterie board is the perfect option! Learn how to make a charcuterie board that will impress your guests — they don’t have to know just how simple it was to put together!
Charcuterie boards and snack boards are one of my favorite things, especially for feeding and impressing guests.
You can customize them to any occasion, make them as big or as small as you want, and cater to a wide variety of tastes all on one plate. Plus, they look beautiful!
And who doesn’t love to graze for dinner?
(This is the same philosophy I have about why everyone always loves a good bloody mary bar!)
In fact, I love snacking and entertaining so much that I wrote a whole cookbook about it. So you can trust me when I say that I’ve made a lot of charcuterie boards over the years and I promise you: They don’t have to be complicated. In fact, you can make a simple charcuterie board or simple cheese board in under 20 minutes.
I’m going to walk you through how to make a charcuterie board, including what to buy, how much to serve, and how to make it look gorgeous.
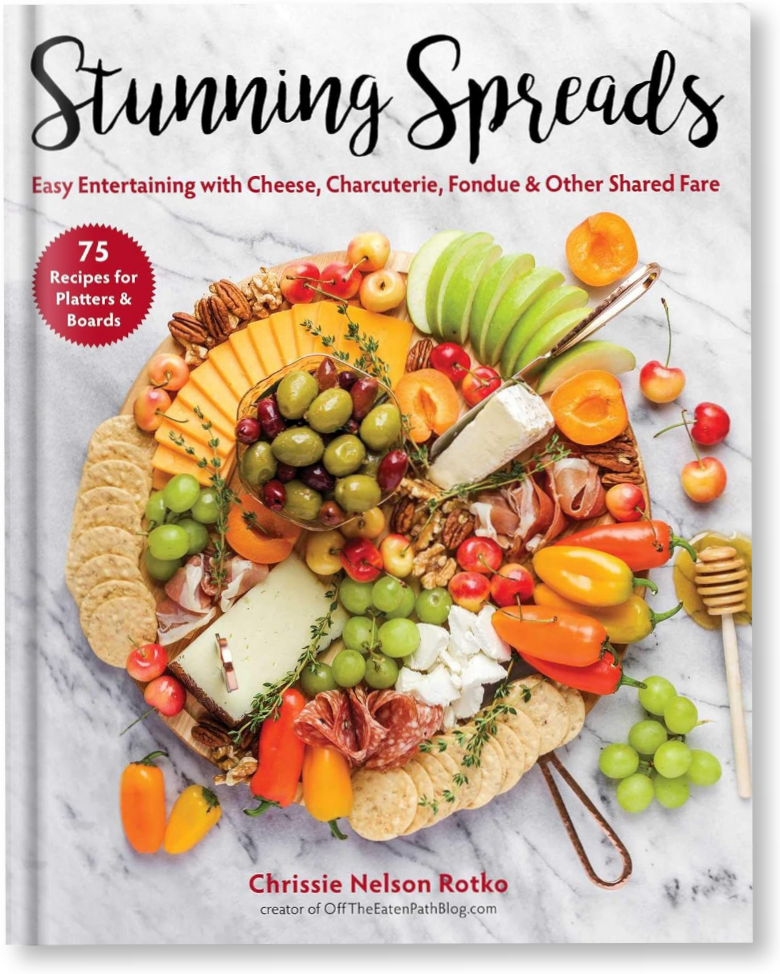
Love entertaining? Check out my cookbook!
Stunning Spreads features 75+ approachable appetizers paired with a variety of simple, seasonal cocktails that are sure to be the showstopper at your next gathering. I’ve even included helpful hosting advice for preparing and serving everything from big boards to small bites.
What exactly is a charcuterie board?
Before we get started, let’s get on the same page about what a charcuterie board is.
The word “charcuterie” refers to cured meats, such as ham, sausage, bacon, etc. Pâté and terrines also fall under the category of “charcuterie,” although they tend to be less popular in North America than they are in Europe.
A charcuterie board includes a selection of cured meats paired with a selection of other foods such as cheese, fruit, nuts, and crackers.
The difference between a charcuterie board and a cheese board comes down to whether it includes and focuses on cured meats or not.
The selection of meat is generally considered the centerpiece of a charcuterie platter, while a cheese board will often omit meat entirely and focus on the cheeses.
You’ll sometimes see other types of snack boards, such as a Valentine’s Day dessert board or a brunch board, referred to as charcuterie boards. But remember: If there’s no cured meat involved, it’s not technically a charcuterie board!
What goes on a charcuterie board?
There are about a million different ways you can build a charcuterie board, including tailoring them to certain diets or seasons. You can even make an easy kids charcuterie board!
But today we’re going to focus on a more general, traditional board—the kind you probably think of when someone mentions a charcuterie board.
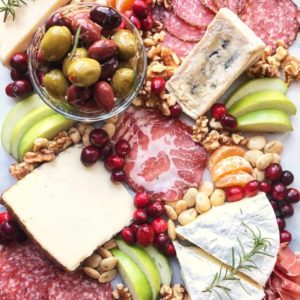
The best charcuterie boards include a variety of flavors and textures. But how do you decide what to include without getting overwhelmed?
When in doubt, follow the 3-3-3-3 rule by picking:
- 3 meats
- 3 cheeses
- 3 starches (crackers and bread)
- 3 accompaniments (fruits, nuts, condiments, etc)
You can always bend this rule, but it’s a great starting point for making sure you’ve got a balanced board, especially if you’re a beginner board builder.
Let’s talk about some of your options in each of these categories.
Meats
Cured meats are the centerpiece of a good charcuterie board. Many cured meats are pork based, but there are plenty of options made with beef, poultry, or even bison and venison.
Some popular options include:
- Bacon
- Bresaola
- Coppa
- Deli-style turkey
- Mortadella
- Prosciutto
- Salami: traditional, peppered, or herb-crusted
- Serrano ham
- Soppressata
- Spanish-style chorizo
- Summer sausage
Don’t forget about pâté! They’re less popular in the US than they are in Europe, but many specialty food shops now carry great varieties of pâté and rillettes that are right at home on your charcuterie platters.

Cheeses
For a cheese lover like me, narrowing down what kind to use is the hardest part of building any board. I do have Wisconsin roots, after all!
Ultimately the most important thing is to include cheese you love to eat. The best cheeses are the ones you think are delicious. If you don’t like blue cheese, don’t add it to your board! If you can’t stand super soft cheeses, leave them off.
For a good variety, try to pick a variety of cheeses that embody different characteristics. Some cheese characteristics include:
- Texture: soft, spreadable, semi-soft, soft ripened, drippy, hard, creamy, crumbly, firm, hard
- Flavor: fresh, aged, blue, flavor added, milky, strong, goaty, stinky, funky, salty, spicy, sweet, nutty, sharp, briny, buttery
- Color: orange, white, blue, golden, cream, cloudy, yellow
- Aroma: milky, mild, moldy, pungent, stinky, earthy, nutty, fruity
- Type of milk: Cow, goat, sheep, water buffalo
If you’re still feeling overwhelmed, focus on texture. Pick 1 cheese from each of these categories:
- Soft or spreadable: Chevre, brie, gorgonzola, roquefort, ricotta, burrata, pimento cheese, beer cheese, Boursin cheese, whipped feta dip
- Semi-firm: Havarti, colby, fontina, edam, cheese curds, cotswold, mild cheddar, smoked gouda, muenster
- Hard: Parmesan, grana padano, asiago, pecorino, manchego, gruyere, aged gouda, sharp cheddar, Dubliner, red leicester
It’s always good to include one or two more approachable cheeses with your spread.
Cheeses like cheddar, Swiss, Gouda or even Brie are better known and can cater to the less adventurous eaters in your group. And just because they are more well known, familiar, or approachable doesn’t mean they aren’t also delicious!

Crackers and bread
Starches like bread and crackers are the best vehicle for the meat, cheese, and other goodies on your charcuterie board.
There are so many cracker and bread options available these days. An easy way to narrow down your choices is to pick 1 to 2 neutral-flavored options and 1 flavored option:
- Neutral flavored: Water crackers, baguette slices, pretzels, bread sticks, classic Triscuits, Wheat Thins, sesame crackers
- Flavored: Crackers flavored with herbs, dried fruits, olives, etc.
Don’t forget to include gluten-free options, such as Nut Thins or even homemade gluten-free crackers if you have gluten-free guests. If you do, make sure you keep the regular crackers separate from the rest of the board so you don’t cross-contaminate!
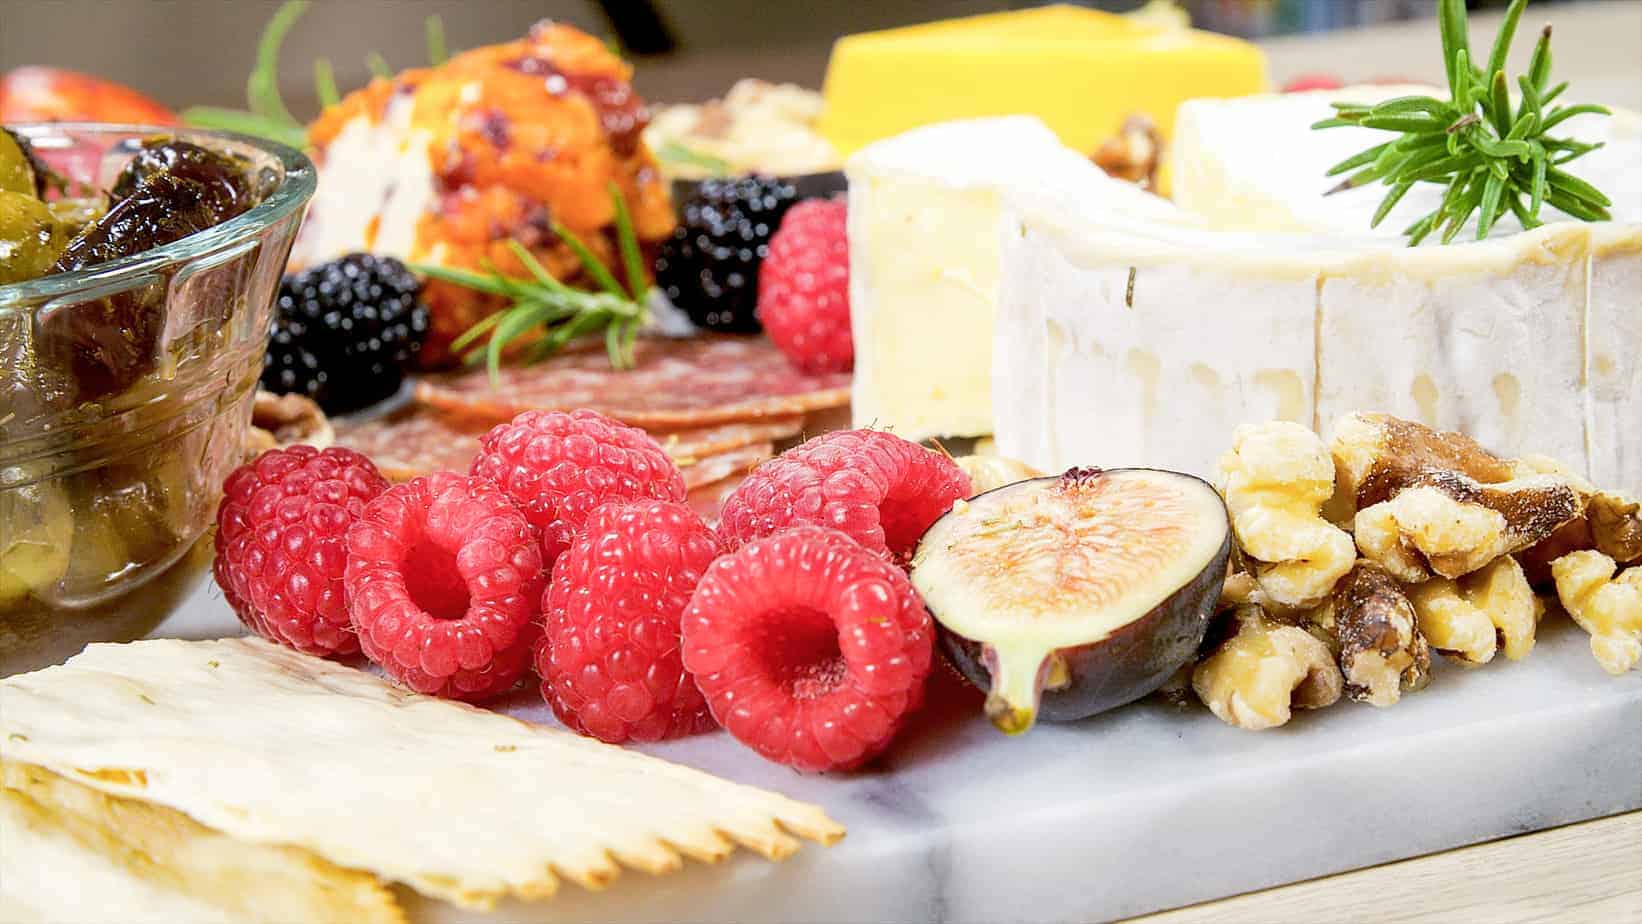
Fruit, nuts, and veggies
This is really where you can get creative. Don’t think you have to get fancy, either. Slicing up an apple from your fridge and setting out a bowl of your favorite pickles will absolutely do the trick!
Honestly, I think these items are what can really make your charcuterie board seem extra special. Some of my favorite additions include:
- Fresh fruit: Apples, pears, grapes, blueberries, strawberries, raspberries, blackberries, cherries, fuyu persimmons, fresh figs, pomegranate arils
- Dried fruit: Dried apricots, dried figs, dates, dried cranberries, dried mango slices
- Nuts: Roasted and salted cashews, pistachios, almonds, candied pecans, candied walnuts, candied almonds, marcona almonds
- Fresh vegetables: Carrot sticks, mini bell peppers, sliced or mini cucumbers, cherry tomatoes
- Pickled or brined vegetables: Cornichons, dill pickles, pickled green beans, pickled asparagus, pickled cauliflower, olives, pickled garlic
Spreads and condiments
There are lots of condiments and spreads that can compliment the flavors of the other items on your charcuterie board. Some of my favorites include:
- Honey
- Sweet jams and preserves
- Savory preserves (pepper jelly, bacon jam, etc)
- Mustards
- Hummus
- Tapenades
I love grabbing specialty jams, jellies, and mustards for my charcuterie boards from the Charlotte Regional Farmers’ Market, but you can easily find something delicious at your supermarket.
This is also a fun chance to show off your cooking skills by whipping up a batch of homemade mustard or sous vide hot honey.

How much should you serve?
Knowing how much to buy and serve on your charcuterie board can feel like a guessing game. And it’s really easy to overshoot and end up with way too much food!
Here’s what I like to plan on serving per person:
For an appetizer: 1-2 ounces cheese + 1-2 ounces meat + 2 ounces fruit/nuts/veggies + 1 ounce dip/spreads + 6-8 crackers
For dinner: 2-4 ounces cheese + 2-4 ounces meat + 4 ounces fruit/nuts/veggies + 2 ounces dip/spreads + 12 crackers
With these ballparks in mind, it’s easy to plan out how much you need to buy based on the number of people you will be serving and whether you plan for the charcuterie board to be an appetizer or full meal.
Tools you’ll need
I promise that you do not have to buy anything special serving pieces to create a stunning charcuterie board.
Serving board options
So you know you need something to arrange your board on, but you don’t own a “charcuterie board” or “cheese board”? Don’t stress!
I promise that any flat, clean surface will do. Platters come in a lot of different shapes, sizes, and materials, so you probably already own something that will work.
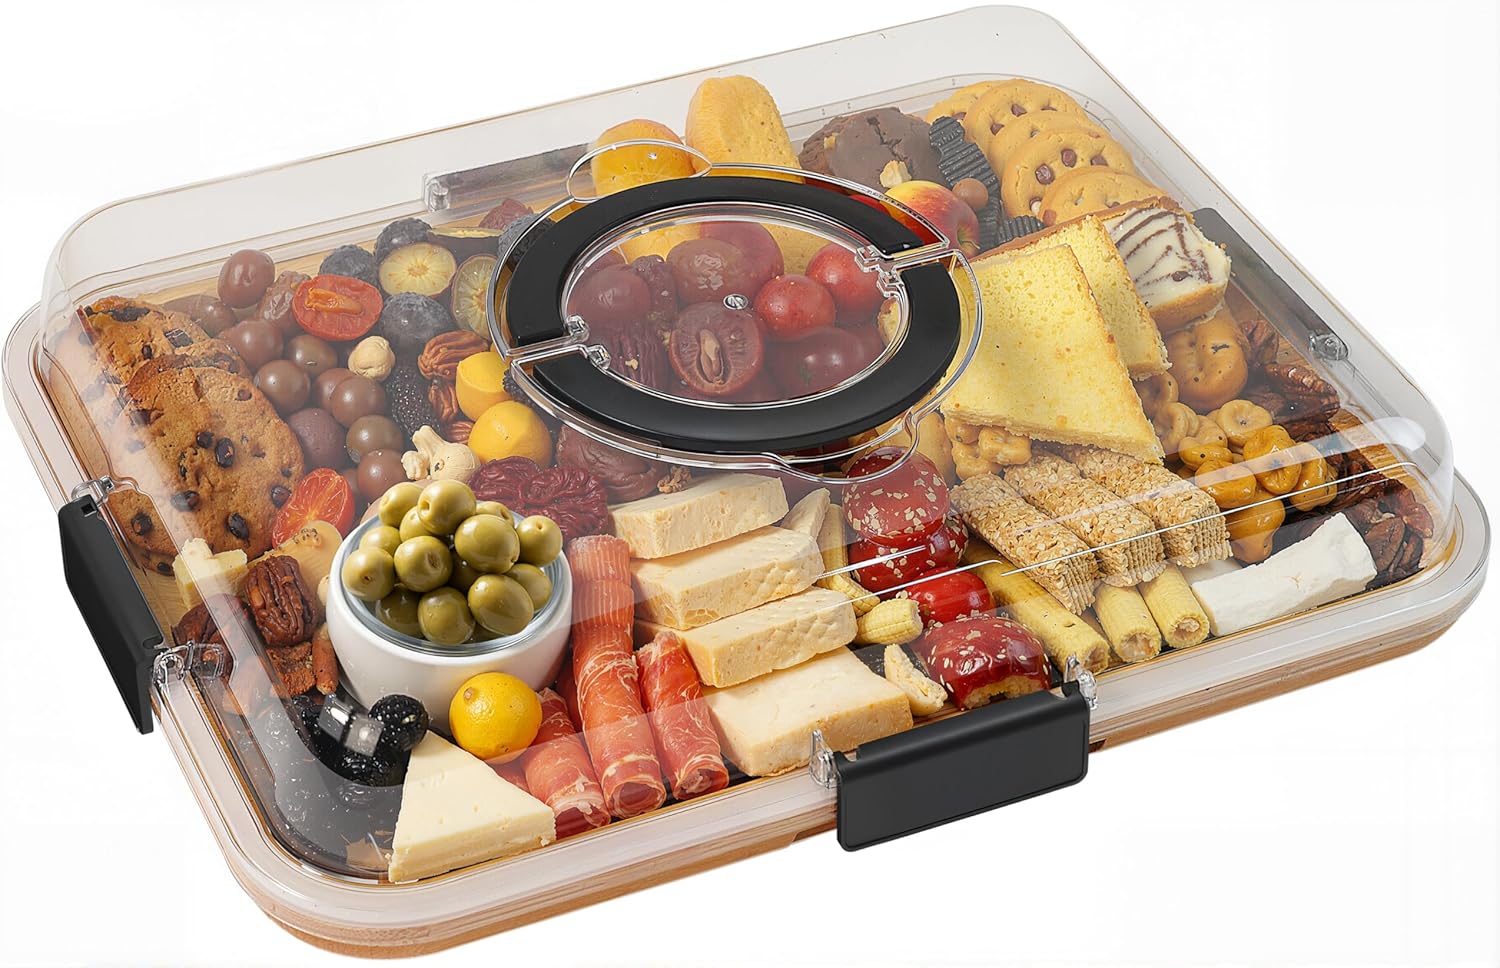
Large wooden cutting boards, slate cheese boards, marble tiles, or even a baking sheet or muffin tin will work. If you’re making a smaller board for two people, a dinner plate will even work!
Were you gifted a platter for your wedding ages ago and have never used it? Dig it out of the back of the closet and build a board on it.
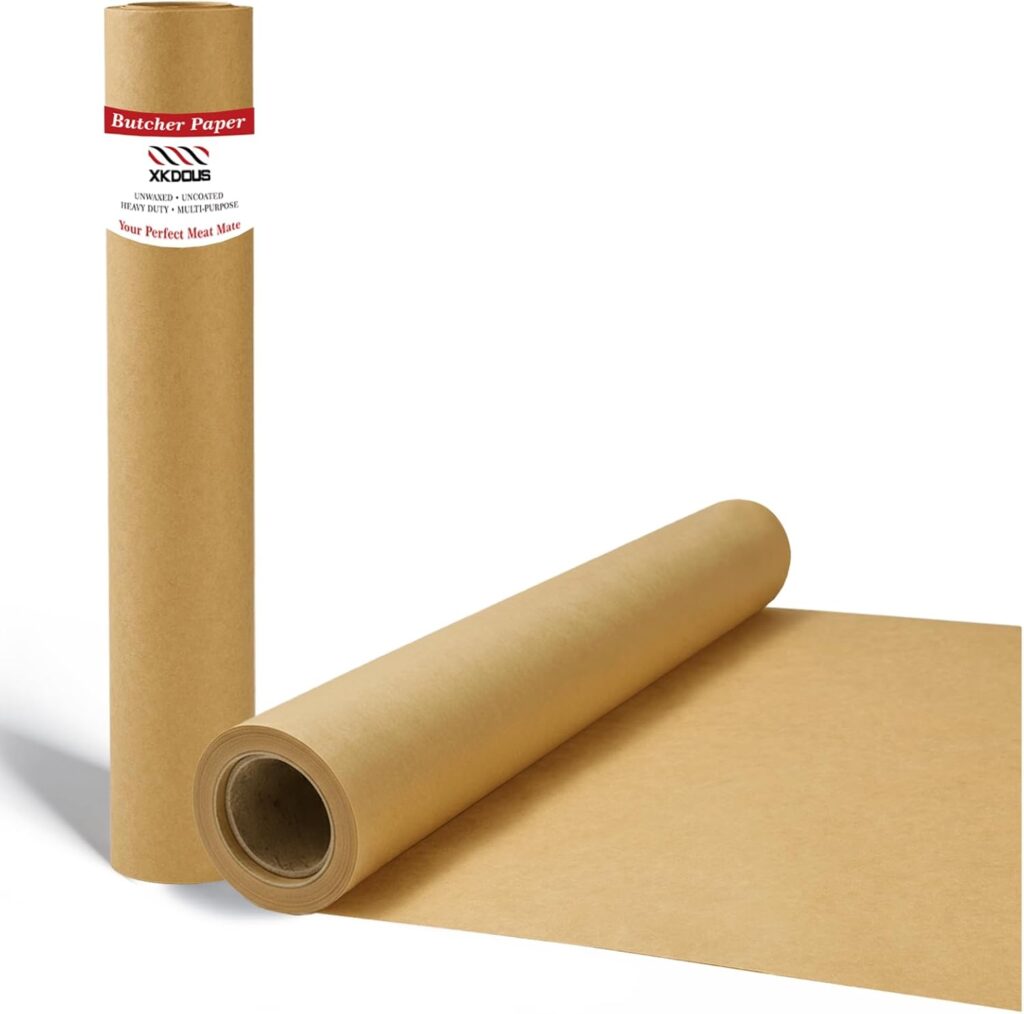
Want to build a really large board and have a big countertop or tabletop? Lay down some butcher paper and use that as your base! Not only does this give you easy cleanup later, but you can write the names of your meats or cheeses right on the paper so guests know what they’re digging into!
Utensils and servingware
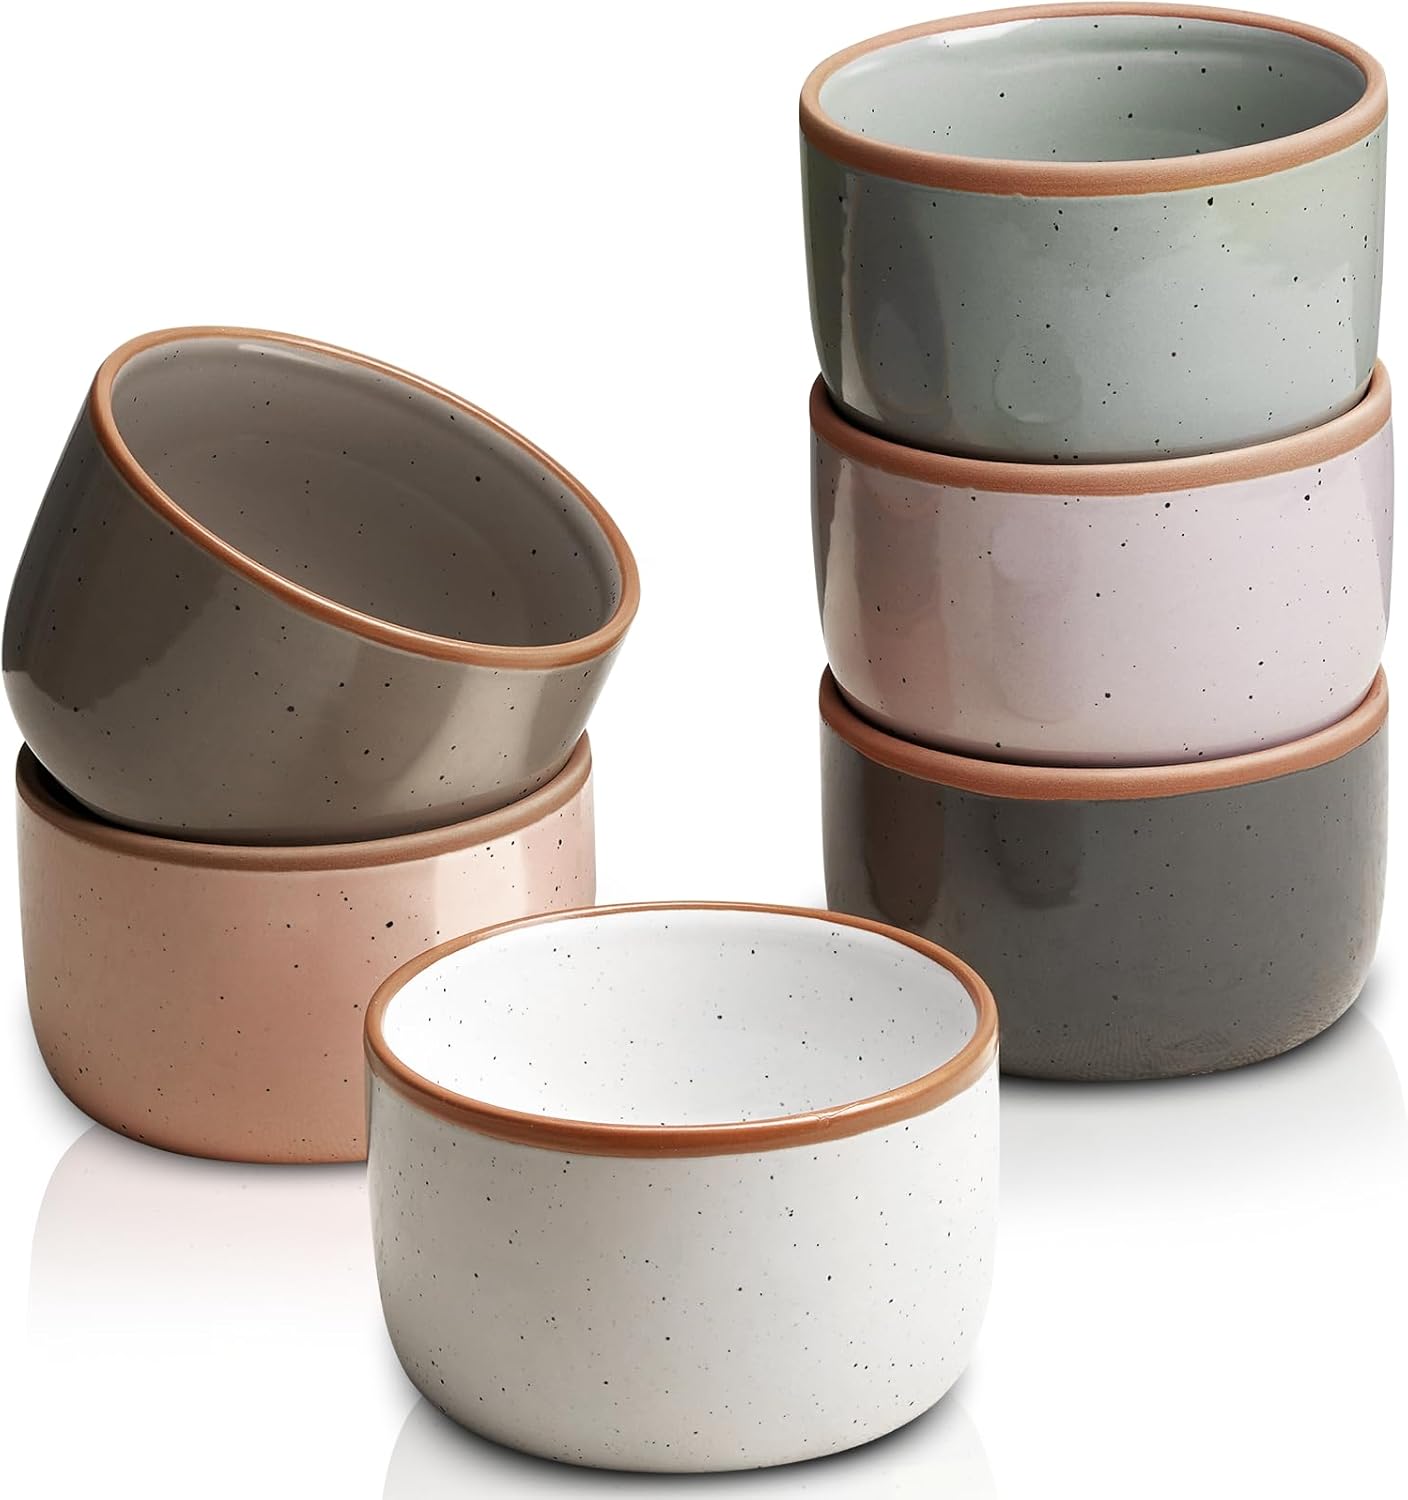
A variety of small bowls, ramekins, jars, shallow dishes, and cups are great for arranging components like honey, preserves, pickles, and olives.
Don’t worry about them matching. Using an eclectic variety of containers can add to the fun!
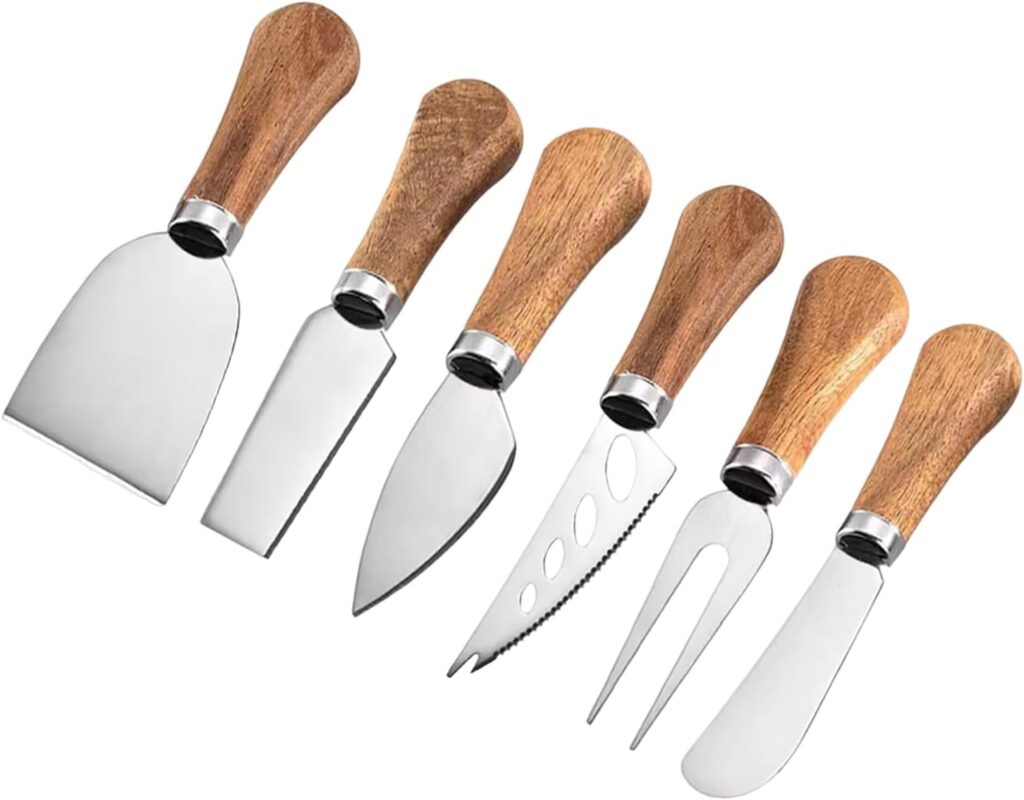
If you have them, a set of cheese knives is a great thing to have on hand. They are pretty affordable, usually have unique and pretty details that add to the look of your spread, and then give you a practical serving tool for each ingredient.
If you don’t have any cheese knives, butter knives work well for soft cheeses, semi-firm cheeses can be cut into cubes, and hard cheeses can be broken into pieces for easy serving.
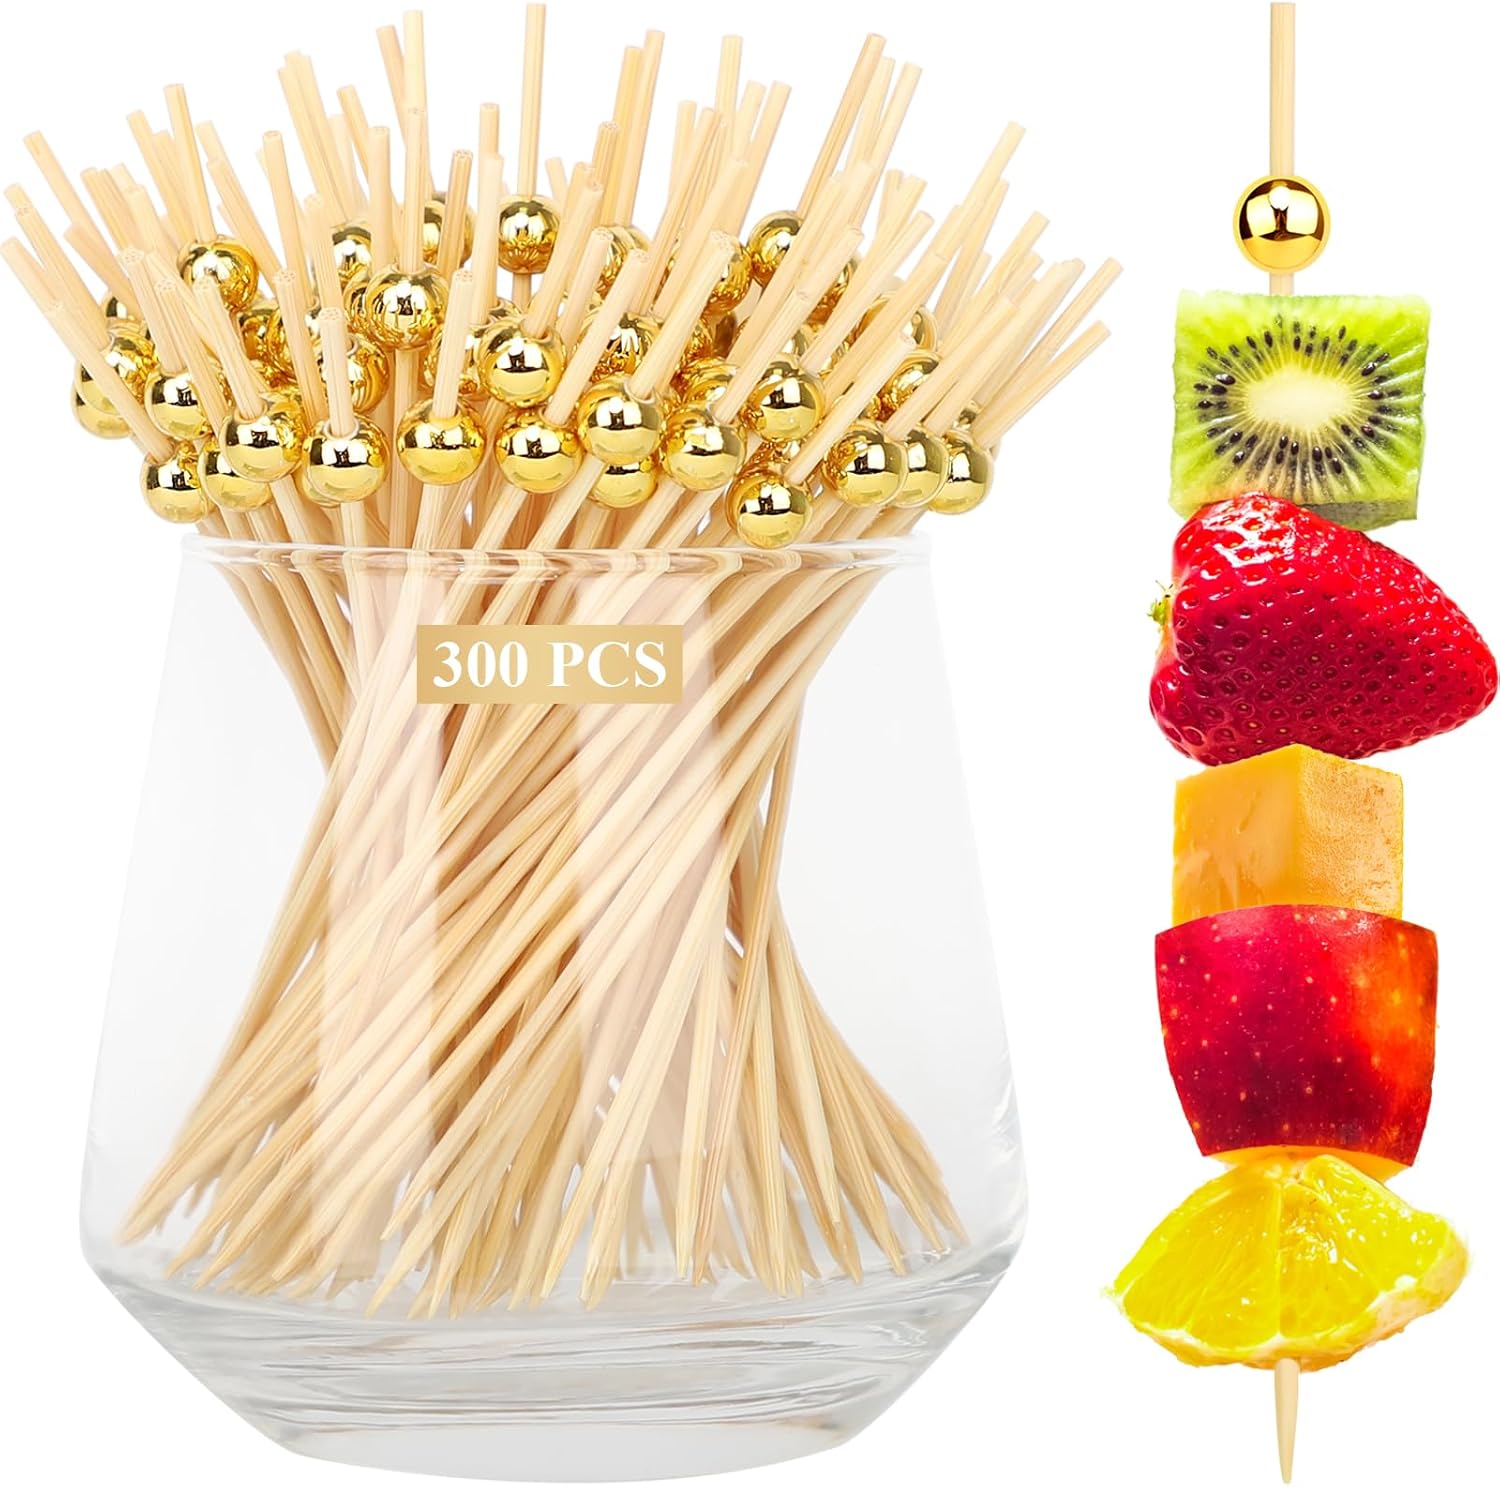
You’ll also want other serving utensils like small spoons and tongs for other board ingredients, as well as utensils that will help your guests eat, like forks, toothpicks or skewers.
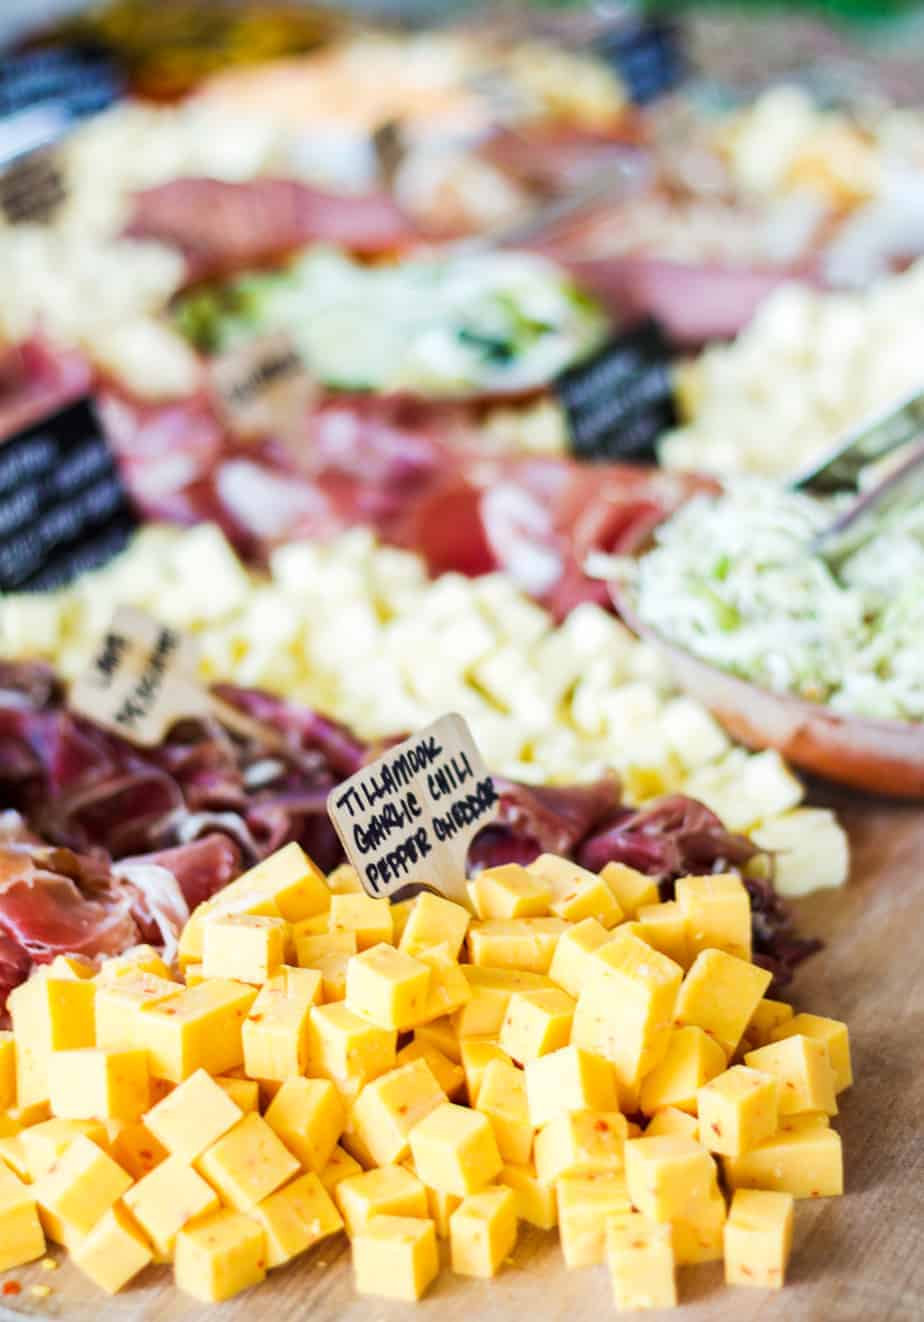
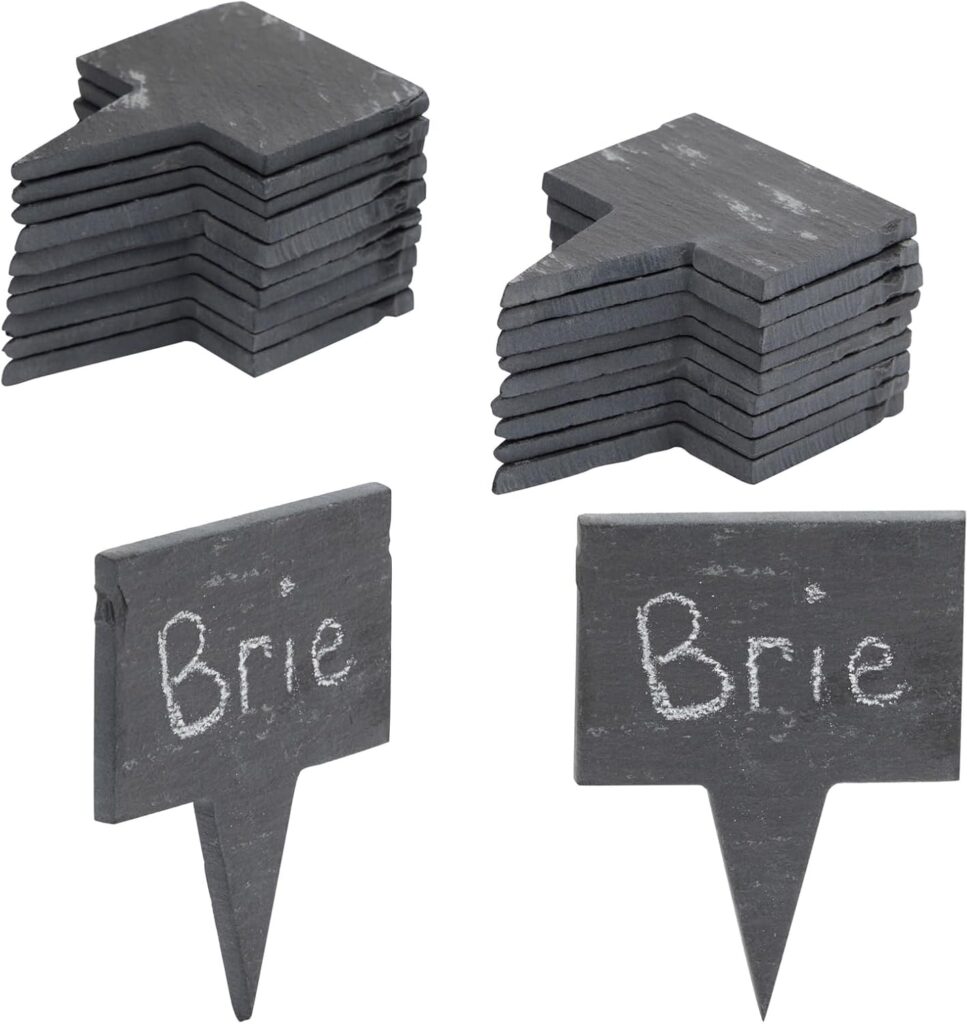
Optional: Including the types of cheeses and meats on cheese markers can let guests know what they’re digging into so you don’t have to repeat yourself all evening. You can make your own with kraft paper and toothpicks if you don’t want to buy some!
While you can buy all of these things just for making charcuterie boards, you can also probably make things work with what you have on hand.
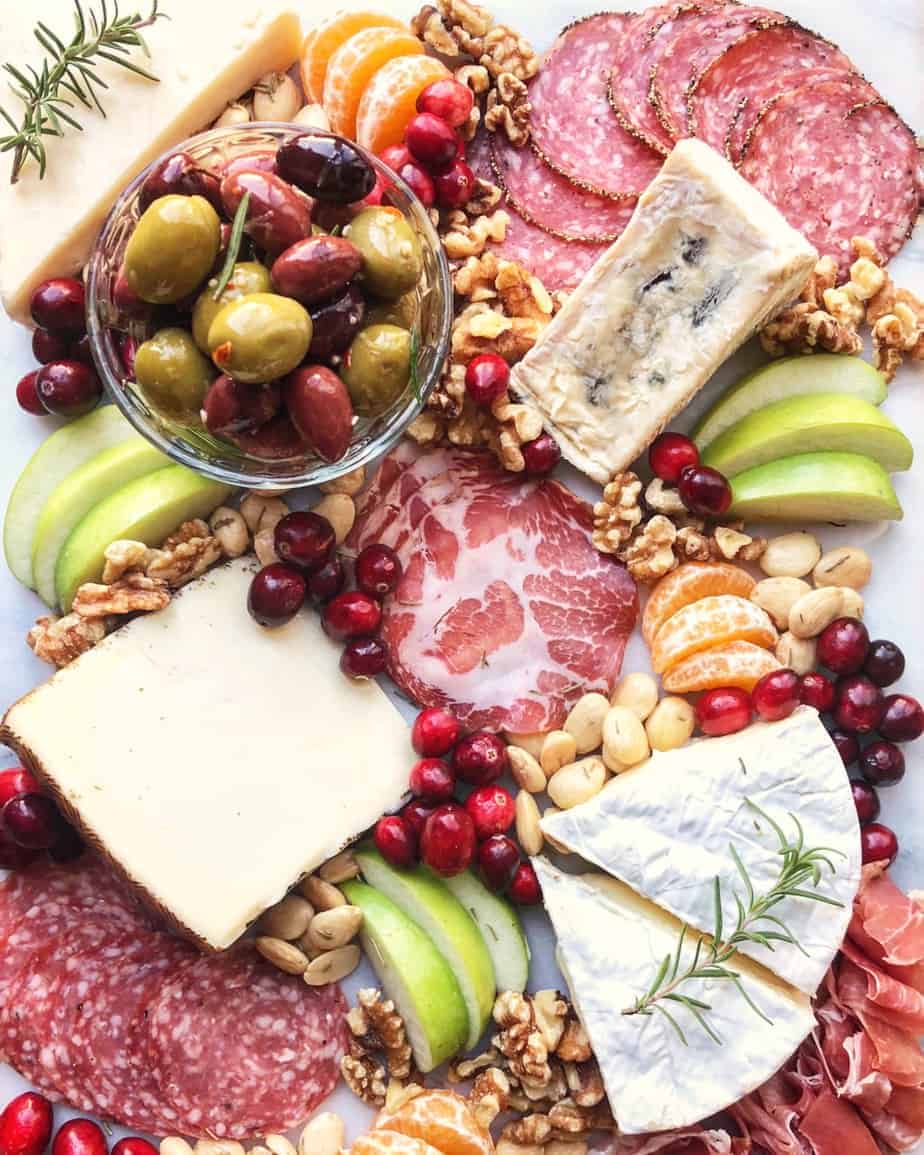
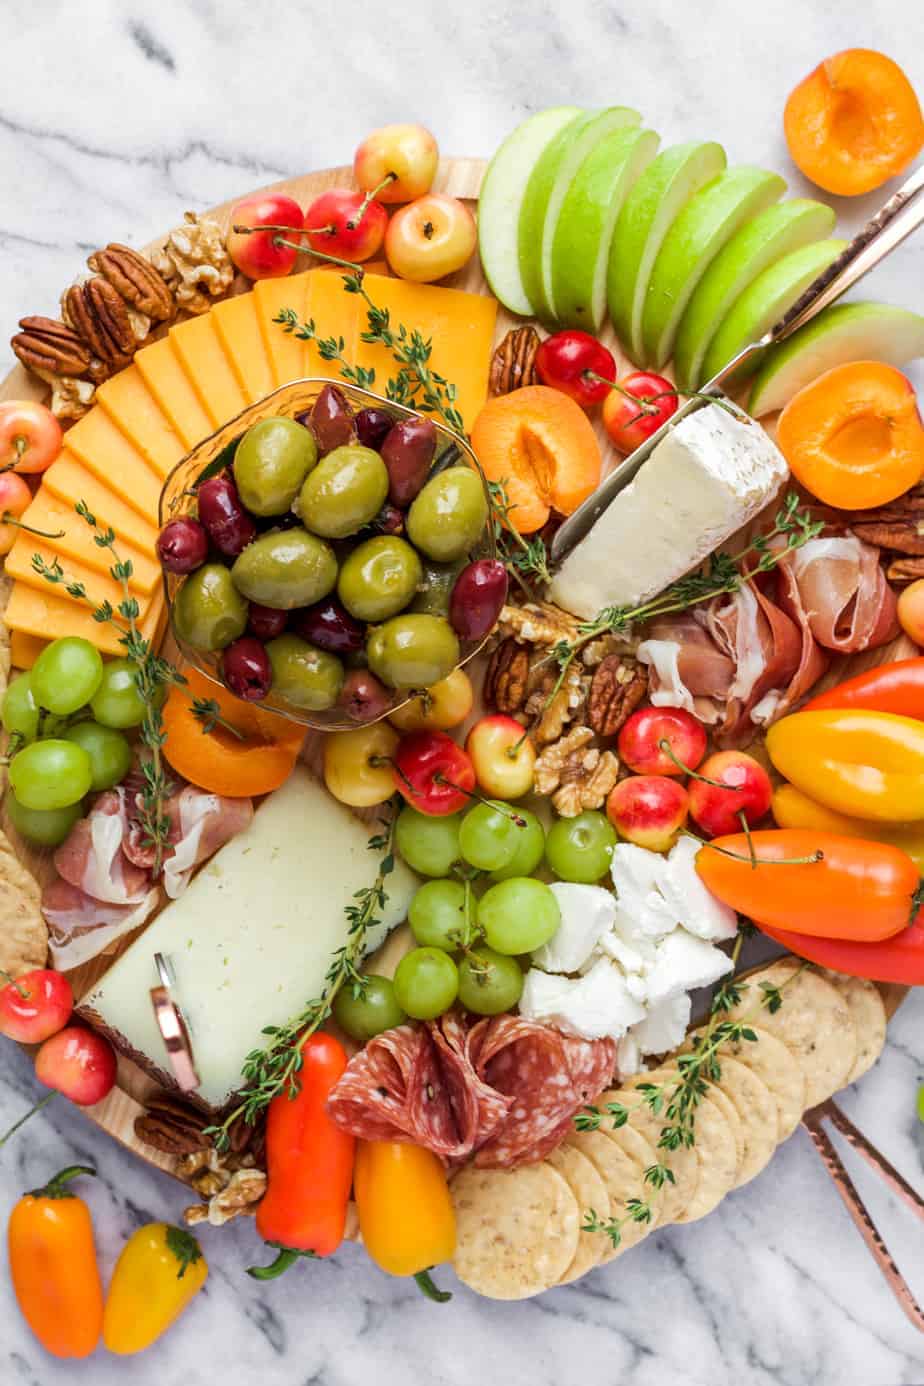
How to assemble the perfect charcuterie board
There are a ton of different ways to arrange a charcuterie board, and there really aren’t any hard and fast rules. But here’s the system I like to follow for making the prettiest board in the shortest amount of time:
Start with the items that take up the most room. This is usually small bowls or dishes that hold nuts, jams, pickles, etc. Space those around your board.
Next, arrange the cheese. When preparing the cheeses, I like to cut each type into different shapes, such as slices, cubes, rectangles, and crumbles. This lets guests visually see that they are all different.
Place (or pile!) each type of cheese in a different area of the board. This keeps the flavors from mixing and makes sure there’s space to put complementary items near each cheese.
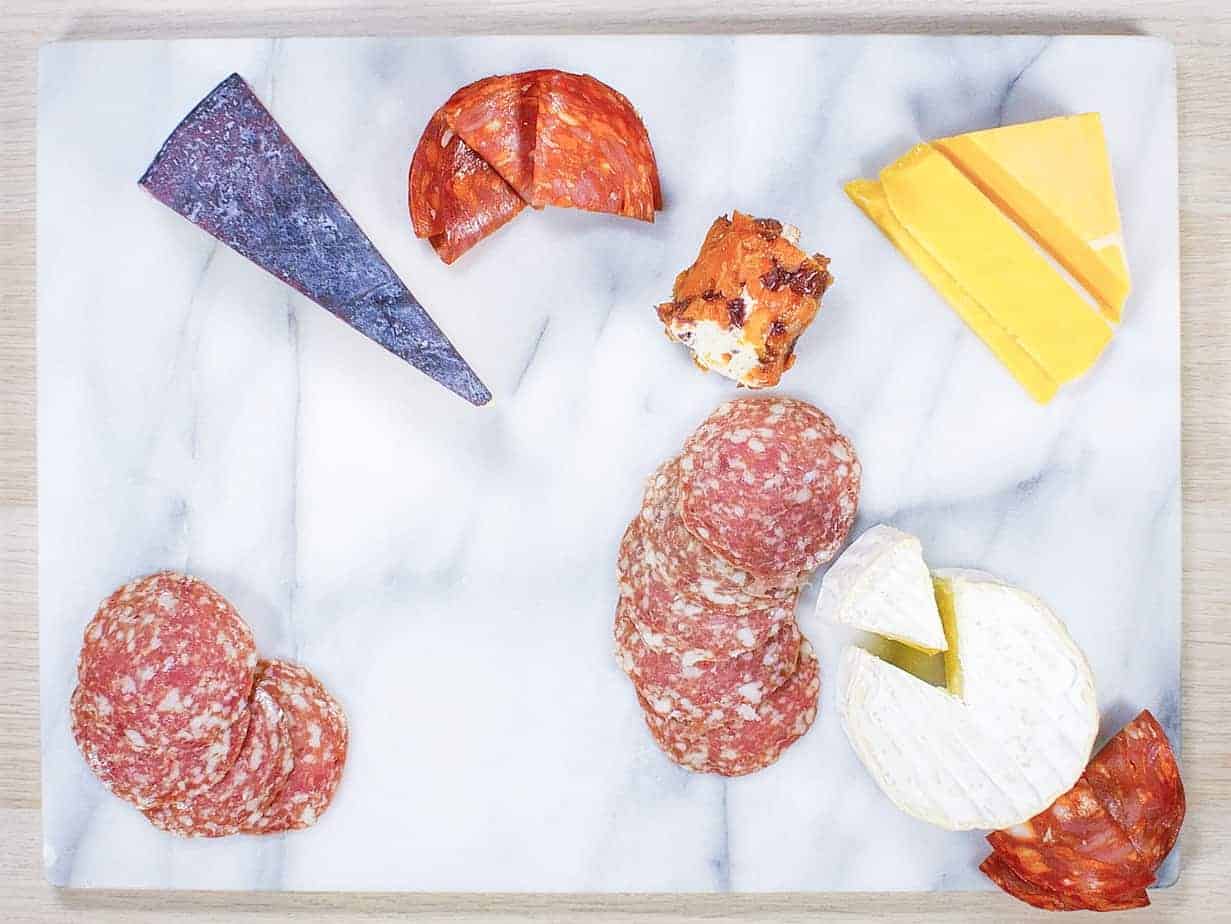
Next, move on to the meat. Again, arrange each type of meat in a different area of the board. It can be helpful to arrange each type of meat differently, such as making salami roses or folding slices of prosciutto, so that guests can quickly see that they’re different varieties.
Fruits, veggies, and crackers come next. These are easy to arrange in the gaps between what we’ve already assembled. You can also keep the crackers separate if you have any gluten-sensitive guests.

Finish with nuts and any garnishes, such as sprigs of fresh herbs. Again, because these are smaller, they can be used to fill any gaps throughout the board.
TIP! As you’re arranging, try to place complementary items near each other. For example, if you know a specific fruit pairs well with a specific cheese, place them next to each other so guests know they are meant to be eaten together.

Make-ahead tips
If you’re trying to plan ahead for a party, you might want to prep components of your charcuterie board ahead of time.
Here are my tips for how to make a charcuterie board ahead of time:
- A few days ahead: Make any homemade components you plan to include on the board, such as garlic parmesan white bean dip or spicy cheese straws. Store these according to the recipe directions until it’s time to add them to your board.
- The day before: Slice/dice/crumble the cheeses and wash and prep fresh veggies. Store each type of cheese and each vegetable in separate airtight containers in the refrigerator.
- Several hours before: Portion dips, spreads, pickles, etc, into small bowls and dishes. Cover the dishes with plastic wrap and keep them in the refrigerator until it’s time to assemble the board.
Now it’ll be easy for you to pull out all of your prepped charcuterie board components to assemble just before your guests arrive!
My top charcuterie board tips and tricks
- Serve cheese at room temperature. Take it out of the refrigerator about 30 minutes before you plan to serve the board. Serving cheese at room temperature showcases cheeses’ best flavors, textures and aromas, and the cheese will taste more complex, nuanced and delicious.
- Encourage guests to create the perfect bite by combining different elements of the board to pair bites with the meats, fruits, veggies, accompaniments, and condiments placed near them. You can even pre-assemble some great combos, such as apricots with goat cheese.
- People like to know what they will be tasting before taking a bite, so label each meat and cheese to let your guests know about their different choices.
- Use separate serving utensils for each item so the flavors are kept distinct and aren’t mingling.
- Take your board to the next level by offering guests wine pairings or beer pairings for each meat or cheese.

Frequently asked questions
Absolutely not! You can make a great charcuterie board with ingredients found at any supermarket.
Stores like Aldi and Trader Joe’s also have amazing charcuterie board items available year-round these days, with extra-special ingredients popping up seasonally. You can build a great board on a budget just by shopping at these stores!
Costco is also a great option when you’re serving a larger group of people. They have lots of cheeses and variety of crackers that you can easily mix and match at slightly lower-than-normal prices.
You can also pair 1 or 2 more expensive components with “budget” ingredients. Remember that many cheeses pair well with fruits such as apples or pears, and there are a lot of great pickles and mustards available that complement a variety of meats and cheeses.
And honestly, once you arrange everything on the board or platter, you won’t be able to tell if you spent a little or a lot of money on the ingredients!
Two hours at room temperature is the safe window for meats, cheeses, and cut fruits. After that, you run the risk of bacteria and food-borne illness.
If you are hosting a longer party and want guests to be able to graze from the charcuterie board all evening, only set out some of the meats/cheeses/fruit. Keep the rest prepped and stored in the refrigerator. This will allow you to easily refill the board as items run out, as well as keep an eye on what might be reaching the end of its “safe window” and need to be swapped out.
As long as the items are not past the safe window (2 hours at room temperature for perishable foods), yes. Anything within this window can be stored in airtight containers in the refrigerator to enjoy later.
If you aren’t sure if something is past the food safety window, throw it out. It’s better to be safe than sorry!
It’s pronounced “shar-ku-tuh-ree!”
Easy Charcuterie Board
Ingredients
- 2 to 3 ounces salami traditional, peppered, or herb crusted
- 2 to 3 ounces prosciutto, serrano ham, or capicola
- 2 to 3 ounces Spanish chorizo or summer sausage
- 2 to 3 ounces soft or spreadable cheese brie, chevre, roquefort, Boursin, pimento cheese, etc.
- 2 to 3 ounces semi-firm cheese mild cheddar, smoked gouda, colby, havarti, fontina, muenster, etc/
- 2 to 3 ounces hard cheese parmesan, grana padano, asiago, manchego, sharp cheddar, aged gouda, dubliner, etc.
- 4 ounces fresh or dried fruit
- 4 ounces fresh, pickled, or brined vegetables
- 4 ounces dip, spread, or condiment honey, jam, hummus, tapenade, etc.
- 8 to 10 neutral-flavored crackers water crackers, sesame crackers, classic Triscuits, etc.
- 8 to 10 pretzel thins or hard breadsticks
- 8 to 10 flavored crackers flavored with herbs, black pepper, garlic, dried fruit, olives, etc.
Instructions
- If needed, slice each of the meats into thin slices or tear into pieces.2 to 3 ounces salami, 2 to 3 ounces prosciutto, serrano ham, or capicola, 2 to 3 ounces Spanish chorizo or summer sausage
- Place soft/spreadable cheese in a small bowl or shallow dish. Slice or crumble the semi-firm and hard cheeses into small pieces, varying the shapes for each variety. Thin slices, wedges, cubes, rectangles, and crumbles all work well.2 to 3 ounces soft or spreadable cheese, 2 to 3 ounces semi-firm cheese, 2 to 3 ounces hard cheese
- Wash and slice fresh fruit and vegetables. Place pickled or brined vegetables in small bowls or dishes. Place dip/spread/condiment in a small bowl or jar.4 ounces fresh or dried fruit, 4 ounces fresh, pickled, or brined vegetables, 4 ounces dip, spread, or condiment
- To arrange the board, space the small bowls and dishes evenly around your serving board. Next, place the cheeses around the board, keeping the varieties separate to avoid flavors mixing.
- Add the meat, arranging evenly around the board.
- Fill in the empty spaces with the fresh or dried fruits and vegetables and crackers. If needed, keep the crackers separate for food allergies or gluten sensitivities.8 to 10 neutral-flavored crackers, 8 to 10 pretzel thins or hard breadsticks, 8 to 10 flavored crackers
- If desired, label the meats and cheeses with cheese markers or kraft paper flags attached to toothpicks.
Notes
Nutrition

about chrissie
I’m Chrissie — a full-time public defender, food lover, North Carolina explorer, toddler wrangler, and lifelong cheese enthusiast. I love the beach, craft beer, Mexican food, and trashy reality TV. Catch me chasing my kids, laughing too loudly, sipping margaritas on a nearby patio, and telling my husband “just one more quick picture.” Learn more ➤