
Fruit Charcuterie Board
This post may contain affiliate links, meaning Off the Eaten Path may receive commissions for purchases made through those links — at no cost to you. All opinions are our own. Please read our full disclosure for more information.
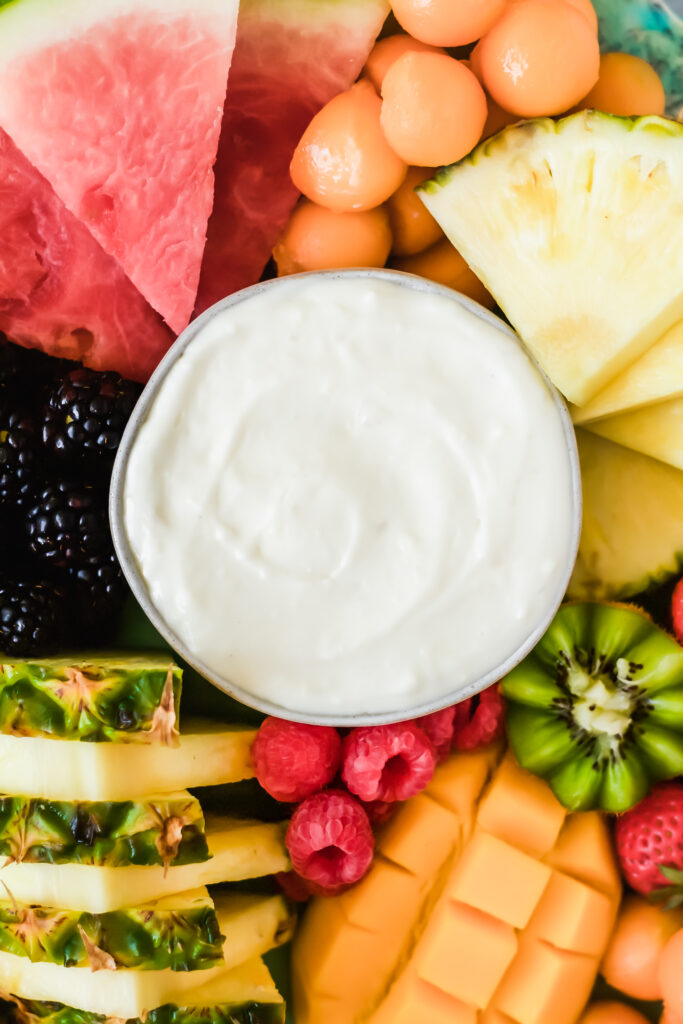
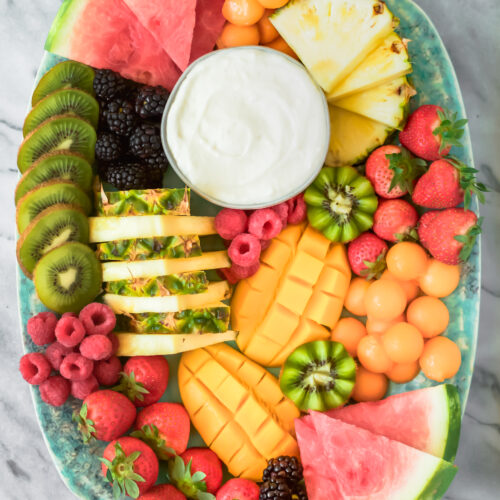
A fruit platter makes for a delicious statement piece on any party menu! This fruit charcuterie board uses a variety of berries and tropical fruits paired with creamy fruit dip for an array of textures, colors, and flavors. Assemble this board in 30 minutes—but your guests will think you spent so much longer on it!
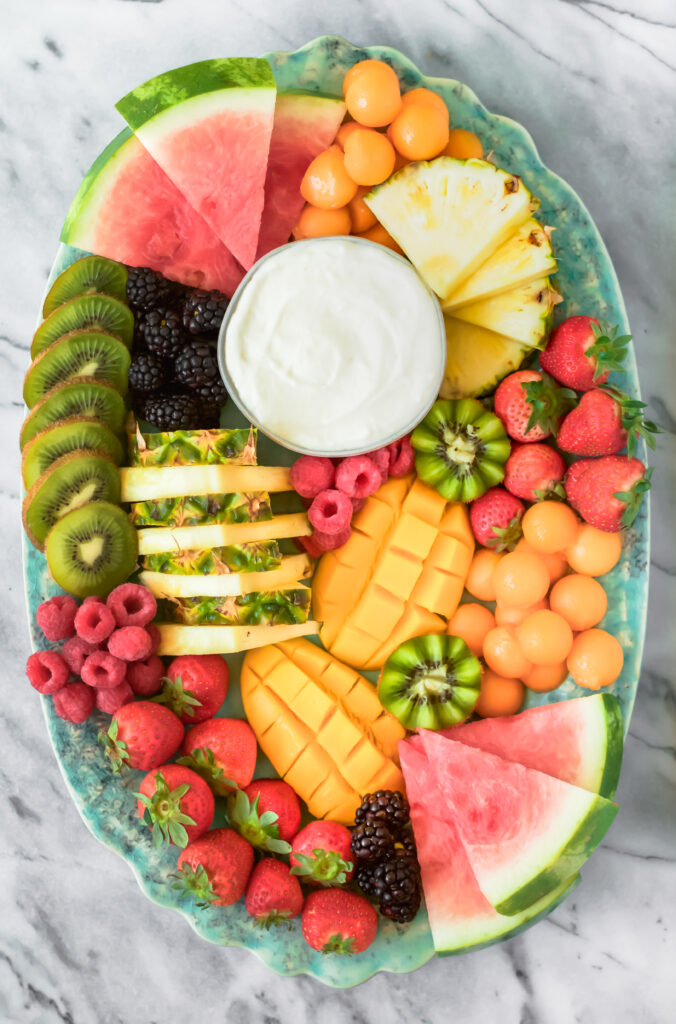
I know that serving a fruit platter at a party isn’t exactly groundbreaking stuff. But if you skip the pre-packaged fruit trays from the grocery store and assemble your own board, it can really make a statement at any gathering.
While this fruit charcuterie board may not fit the technical definition of a charcuterie board, it’s every bit as fun to assemble and to eat.
This fruit platter first appeared in my cookbook, Stunning Spreads. It’s one I’ve been making for years and it never fails to impress.
You only need about 30 minutes to create this board, but your family and friends will assume it took you way longer to prepare. Serve it at Easter or Mother’s Day brunch, make it for bridal and baby showers, or turn it into the centerpiece of movie or game night with your family.
Testing notes and tips
- Pick fruits with a variety of textures, flavors, and colors. My favorite version includes a mix of berries, melon, and tropical fruits, but you can easily change things up based on seasonality and what’s available. But just like when you make a cheese board, incorporating variety is what makes it interesting for your guests.
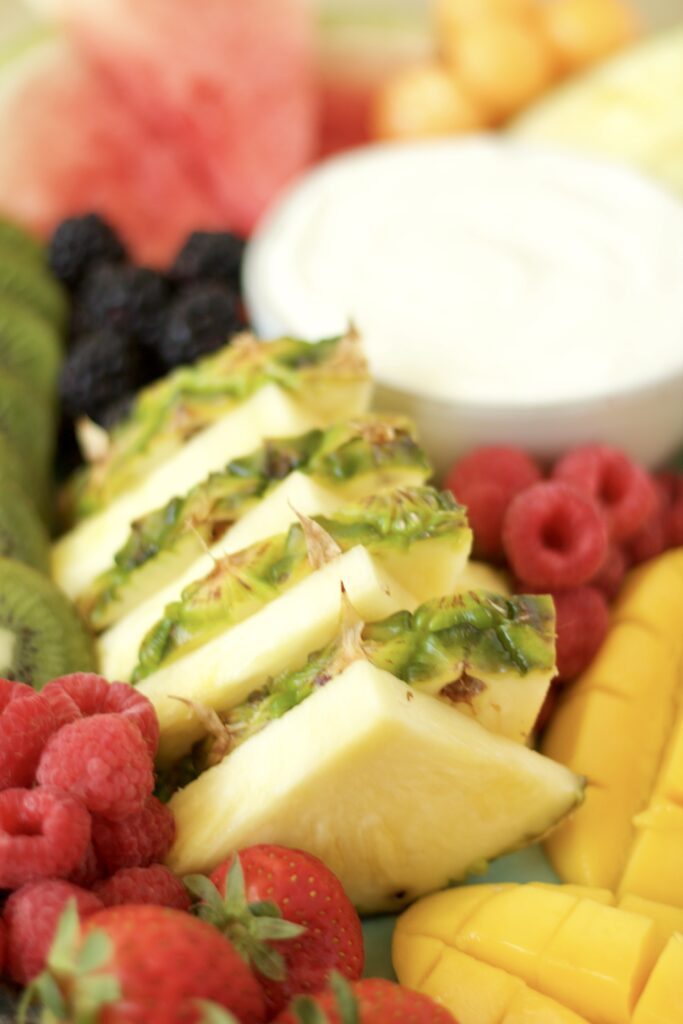
- Cut the fruits in different ways. In the printable recipe card below, I go into detail on how I cut each fruit to make the platter more eye catching. Even if you don’t want to get too fancy, consider cubing some fruits while slicing or using a melon baller on others.
- Incorporate some extras. At minimum, I always add some fruit dip into the mix. But other fun additions include Nutella, honey, nuts, brie cheese, dark chocolate, and more. The extras are what really take you from boring fruit tray to stunning fruit board! You can even tuck some edible flowers into the board to really impress your guests.
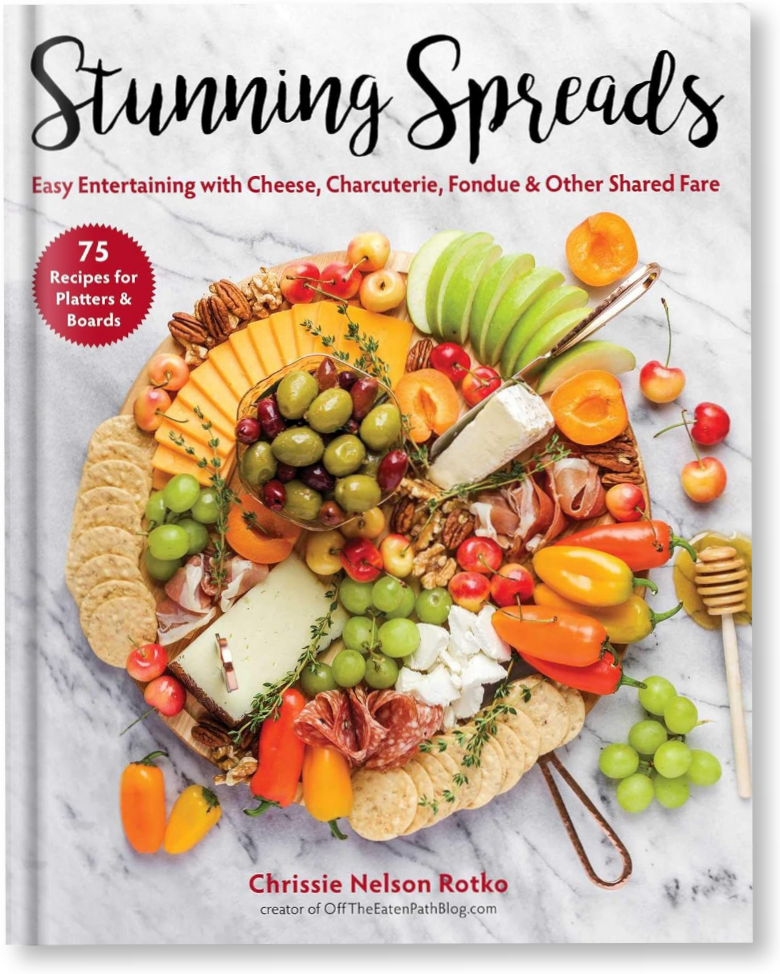
Love entertaining? Check out my cookbook!
Stunning Spreads features 75+ approachable appetizers paired with a variety of simple, seasonal cocktails that are sure to be the showstopper at your next gathering. I’ve even included helpful hosting advice for preparing and serving everything from big boards to small bites.
What fruits should you use?
Truly, you can use any fruits you like best and are in season. While I love the mix of pineapple, melon, berries, mango, and kiwi shown here, you can use just about any fruits, such as:
- Stone fruits: Peaches, nectarines, apricots, and sweet cherries. Cut larger fruits into slices and leave cherries whole.
- Citrus: Mandarins or clementines are perfect because they are easier to peel and separate into sections than most oranges. Pomelos, which are a milder, sweeter relative of grapefruit, are also a nice choice if you can find them.
- Tropical fruits: Dragon fruit, papaya, and starfruit are sometimes harder to find but are always fun to incorporate.
- Persimmons: Fresh Fuyu persimmons have a slight crunch to them and can be cut into wedges or sliced.
- Pomegranates: I prefer to add a small bowl of pomegranate seeds (aka arils) to the board so guests don’t have to get their hands messy digging into chunks of the fruit.
- Grapes: Any variety works great, but I recommend making sure they’re seedless.
I personally prefer to avoid fruits that oxidize and turn brown after being cut. There are several ways to prevent sliced fruit from turning brown if you do want to incorporate apples, pears, and bananas, though.
Make-ahead tips
One of my favorite things about creating a fresh fruit charcuterie board is that you can prep it ahead of time. Who doesn’t love getting your party prep out of the way early?
Wash, dry, and cut the fruit up to 24 hours in advance. Place the fruits in separate airtight containers and keep them in the fridge until it’s time to assemble the board.
I don’t recommend preparing the fruit any earlier than that, as some of the fruits will break down after cutting. 24 hours is the max time I recommend for maintaining the best look and texture of the fruit.
Assemble the board up to 2-3 hours in advance. Lightly cover the board with plastic wrap and store it in the refrigerator until just before serving. Fresh cut fruit should only remain at room temperature for up to 2 hours for food safety, so keep it chilled until it’s time to eat.
Easy Fruit Charcuterie Board
Ingredients
- 1 fresh pineapple
- 1 seedless watermelon
- 1 cantaloupe
- 3 kiwis divided use
- 1 mango
- 8 to 12 ounces fruit dip
- 16 ounces fresh strawberries
- 6 ounces fresh raspberries
- 6 ounces fresh blackberries
Optional additions:
- Nutella
- Honey
- Brie cheese whole or cut into wedges
- Roasted or candied nuts
Instructions
Prepare the fruit:
- Wash and thoroughly dry all fruit.
- Lay the pineapple on its side. Using a large, sharp knife, cut off the top and bottom of the pineapple, then cut the pineapple into slices about 1-inch thick. Cut each slice into 4-6 wedges. Set aside.1 fresh pineapple
- Repeat this process with the watermelon: cut off the ends, slice into rounds, then cut each slice into 4-6 wedges. Set aside.1 seedless watermelon
- Slice the cantaloupe in half. Use a large spoon to scoop out and discard the seeds. Using a melon baller, scoop the flesh into spheres. Set aside.1 cantaloupe
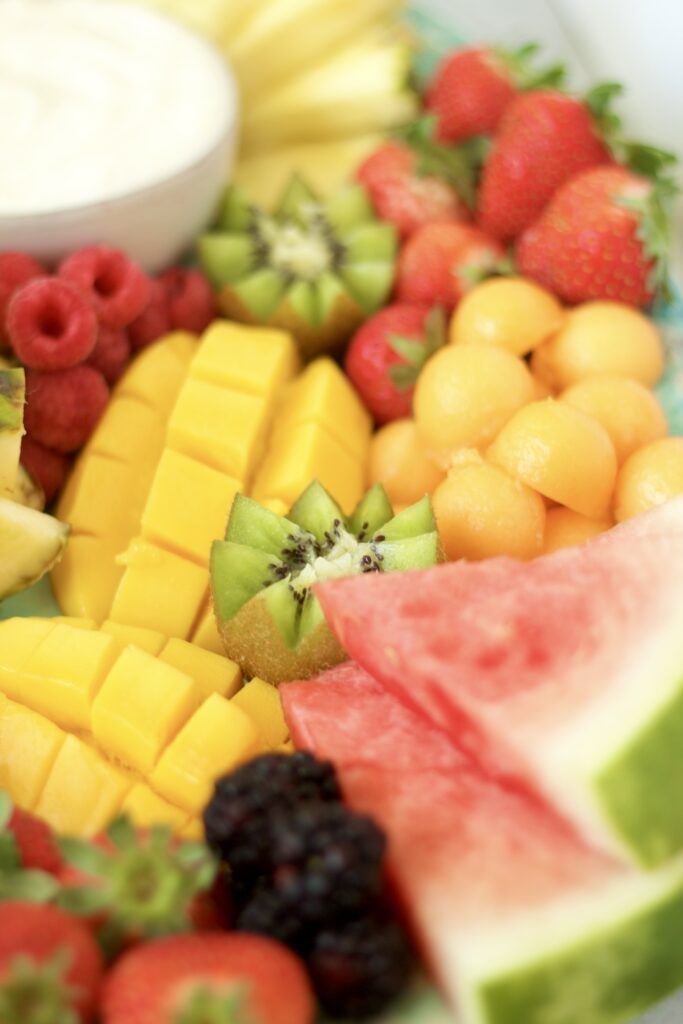
- Lay two of the kiwis flat; cut off both ends of each kiwi. With the kiwi still lying flat, insert a paring knife diagonally just to the center of the fruit, making a small, 45° angle slice. Insert the knife again beside the first cut with the knife angled in the opposite direction, creating a "V" shape with the cuts. Continue in this pattern along the midline of the kiwis, creating a zig-zag shape, making sure the cuts reach the center of the fruit. Pull the halves apart to separate.2 kiwis
- Take the third kiwi and cut off both ends, then thinly slice.1 kiwis
- Place the mango on the cutting board vertically. Use a mango cutter to separate the bit from the flesh, creating two "cheeks" of mango. Use a knife to score the flesh of each cheek into squares by cutting evenly-spaced vertical and horizontal lines, making sure not to cut all the way through the skin. Hold the scored mango cheek with two hands; using your fingers, push the mango skin to invert the fruit and have the cubes pop out toward you.1 mango
- Place the mango vertically on the cutting board with the stem pointing up (it should look tall.) Slice as close as you can to the pit, removing two halves, or cheeks of the mango. Score each mango cheek into squares or cubes by cutting equally spaced vertical and horizontal lines, while making sure not to cut all the way through to the skin.
Arrange the platter:
- Add the fruit dip to a small bowl and place in the upper half of a serving board or platter. Place the two mango cheeks on an angle at the center of the platter. Place a half a kiwi on each side of the mango.8 to 12 ounces fruit dip
- Fan watermelon slices in the upper and lower corners of the platter.
- Line several of the pineapple slices just above and next to the mango. Fan remaining slices around the bowl of fruit dip.
- Fill in the remaining open spaces with the berries, cantaloupe, and kiwi slices. If desired, you may also incorporate smalls bowls of Nutella and/or honey, as well as the brie and nuts.16 ounces fresh strawberries, 6 ounces fresh raspberries, 6 ounces fresh blackberries, Nutella, Honey, Brie cheese, Roasted or candied nuts
Notes
Fruit preparation
- If you do not have a melon baller, you can carefully remove the cantaloupe rind and cut the flesh into cubes.
- If you do not have a mango cutter, use a sharp knife to very carefully cut the mango vertically along the pit to separate the pit from the flesh.
- Depending on the size of the pineapple and melons, you may not need all of the pineapple wedges, watermelon wedges, and cantaloupe balls. You can either set the fruit aside to refill the platter as needed, or save it to enjoy later.
Make ahead
- The fruit can be washed and cut up to 24 hours ahead of time. Store the prepared fruits separately in airtight containers in the refrigerator until you are ready to assemble the platter.
- The platter can be arranged 2-3 hours ahead of time. Assemble, then loosely cover with plastic wrap and place in the fridge until ready to serve.
Storage
- Any leftover fruit and dip that has been sitting at room temperature for less than 2 hours can be stored in airtight containers in the refrigerator for 2-3 days. Any fruit and/or dip that has been sitting at room temperature for more than 2 hours should be discarded.
Nutrition
Frequently asked questions
I don’t recommend it. The process of freezing and thawing changes the texture of fruit, which is fine for making a blueberry banana smoothie but not so great for a fruit board. Stick to fresh fruit for this one.
More easy platters and boards
If you love making a fruit charcuterie board, be sure to check out:

about chrissie
I’m Chrissie — a full-time public defender, food lover, North Carolina explorer, toddler wrangler, and lifelong cheese enthusiast. I love the beach, craft beer, Mexican food, and trashy reality TV. Catch me chasing my kids, laughing too loudly, sipping margaritas on a nearby patio, and telling my husband “just one more quick picture.” Learn more ➤